
Introduction
When you start with a solid base recipe, small technique changes can completely transform the final result. Using the same simple ingredients, these four oven-baked chicken strip variations offer different textures and serving styles — from ultra-crispy to extra-juicy — without adding anything new to your grocery list.
This approach is perfect for busy families, meal prep lovers, and anyone who wants variety without complexity.
________________________________________
Base Ingredient List (Used for All Variations)
• 450 g (1 lb) chicken breast tenders
• 1 cup panko-style breadcrumbs
• ½ cup finely grated Parmesan cheese
• 1 teaspoon garlic powder
• 1 teaspoon smoked paprika
• ½ teaspoon sea salt
• ½ teaspoon ground black pepper
• 2 large eggs
• 2 tablespoons extra-virgin olive oil
• Non-stick cooking spray
💡 Important: No extra ingredients are used. Only techniques change.
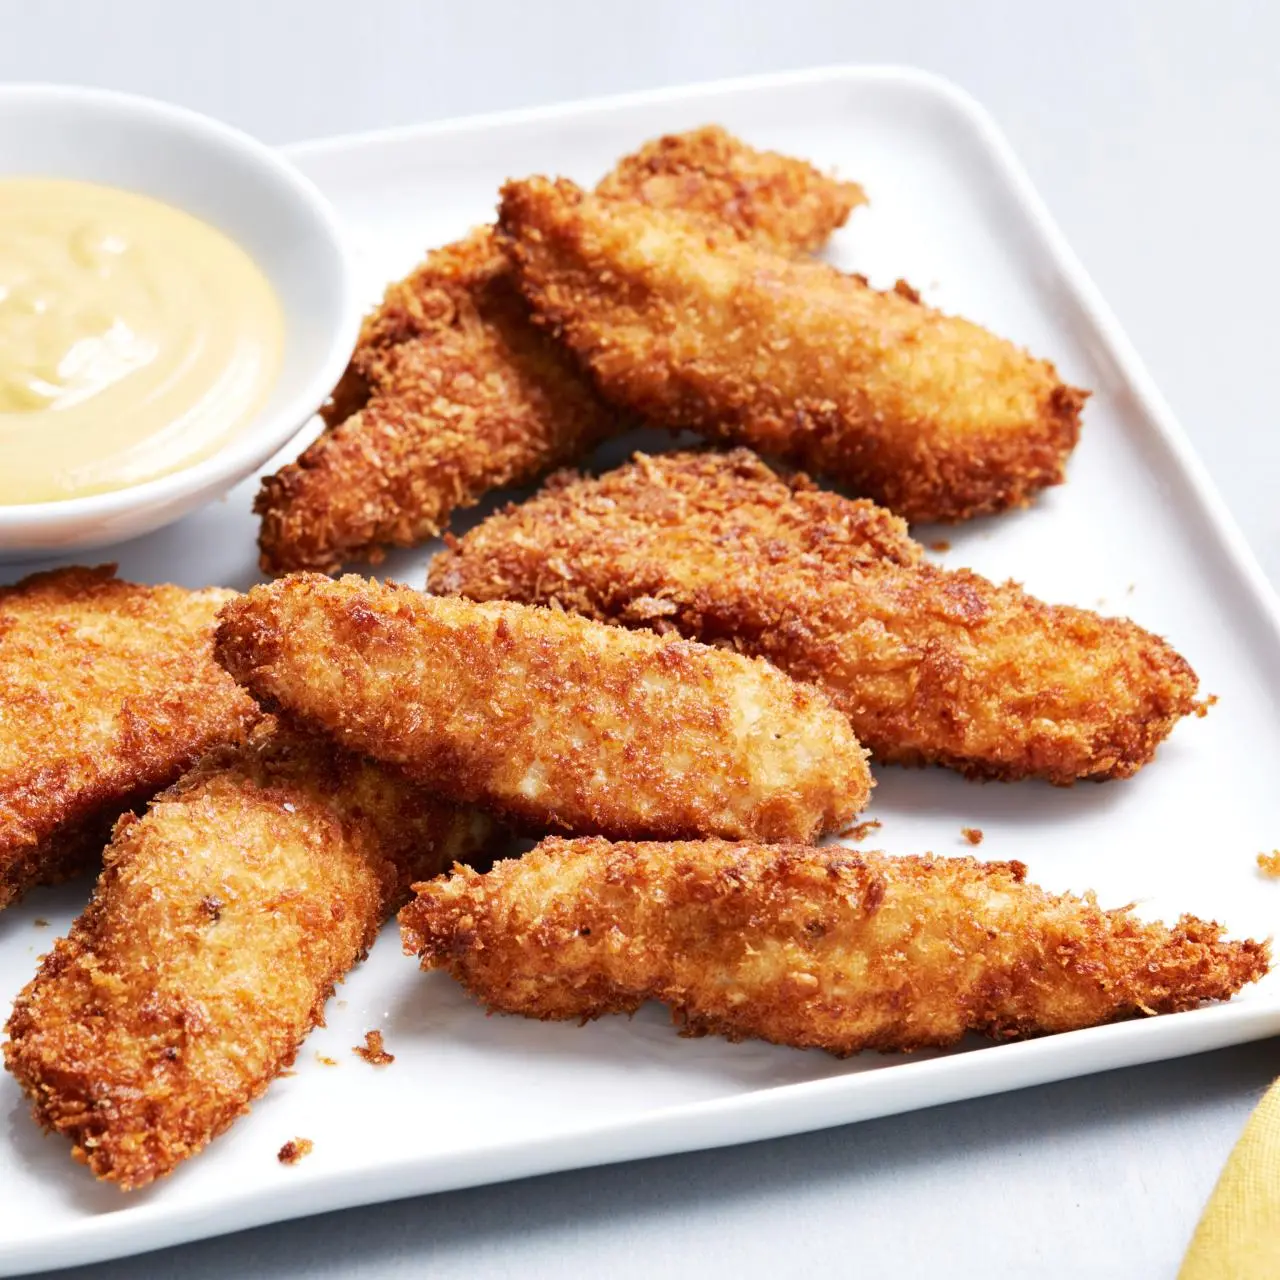
Variation 1 – Classic Crispy Oven Chicken Strips
Why This Version Works
This is the most balanced method, producing chicken that’s evenly golden with a reliable crunch and juicy interior.
Method
• Preheat the oven to 400°F (200°C)
• Mix breadcrumbs, Parmesan, and all seasonings in a bowl
• Whisk eggs in a separate bowl
• Dip chicken into eggs, then coat fully with breadcrumb mixture
• Place on a parchment-lined baking sheet and drizzle lightly with olive oil
• Bake 18–22 minutes, flipping halfway
• Rest 5 minutes before serving
✅ Best for first-time cooks and family dinners
________________________________________
Variation 2 – Extra-Crispy Parmesan Chicken Strips
What’s Different
The crunch is enhanced without adding oil or ingredients, simply by adjusting the coating process.
Technique Adjustment
• Before breading the chicken, spread the breadcrumbs on a dry pan
• Heat on medium for 2–3 minutes, stirring constantly, until lightly golden
• Let cool, then mix with Parmesan and seasonings
• Continue with the same breading and baking process
🔥 Result: deeper color, louder crunch
________________________________________
Variation 3 – Juicy-Center Chicken Strips (Meal Prep Friendly)
What’s Different
This version focuses on moisture retention, ideal for reheating.
Technique Adjustment
• Coat the chicken as usual
• Arrange strips closer together on the baking sheet (not crowded)
• Place the tray on the middle oven rack, not the top
• Flip gently halfway through cooking
🥗 Best for wraps, salads, and next-day meals
________________________________________
Variation 4 – Golden Parmesan Chicken for Bowls & Wraps
What’s Different
The coating is pressed more firmly to create a thinner, even crust that slices cleanly.
Technique Adjustment
• After coating, gently press breadcrumbs into the chicken using your hands
• Drizzle olive oil in a thin zigzag rather than spooning
• Bake until lightly golden rather than dark brown
🌯 Perfect for slicing and layering into bowls or sandwiches
________________________________________
How to Serve These Chicken Strips
• With BBQ sauce, honey mustard, or ranch
• Alongside roasted potatoes, coleslaw, or green salad
• Sliced into wraps, rice bowls, or meal-prep containers
________________________________________
Nutrition Estimate (Per Serving – All Versions)
• Calories: ~380
• Protein: ~34 g
• Carbohydrates: ~22 g
• Fat: ~17 g
________________________________________
Pro Kitchen Notes
• Letting the chicken rest after baking improves texture
• Avoid overcrowding the tray for even browning